Game of Life
Tuesday, May 27, 2025
One of my first and most memorable graphical programs was implementing John Conway’s Game of Life. At the time, that implementation was as a Java applet. I’ve revisited it periodically in different programming languages including several years ago when I started to implement the Game of Life in Factor – something I’ve always wanted to write about.
The Game of Life is a two-dimensional grid of square cells with fairly simple logic. Each cell can be either live or dead. Each cell interacts with its eight neighboring cells with the following rules determining the next state of the game board:
- Any live cell with fewer than two live neighbours dies, as if by underpopulation.
- Any live cell with two or three live neighbours lives on to the next generation.
- Any live cell with more than three live neighbours dies, as if by overpopulation.
- Any dead cell with exactly three live neighbours becomes a live cell, as if by reproduction.
You can run this in any release since Factor 0.98:
IN: scratchpad "game-of-life" run
And it will look something like this:
Let’s go ahead and build it!
Game Logic
We will model our two-dimensional game board as an array of arrays. And in particular, since each cell has only two states, we will use bit-arrays to reduce the memory requirements by efficiently storing the state, one bit for each cell.
: <grid> ( rows cols -- grid )
    '[ _ <bit-array> ] replicate ;

: grid-dim ( grid -- rows cols )
    [ length ] [ first length ] bi ;
Making a random grid, which is useful in testing:
: random-grid ( rows cols -- grid )
    '[ _ { t f } ?{ } randoms-as ] replicate ;
And a word we can use for debugging, to print a grid out:
: grid. ( grid -- )
    [ [ CHAR: # CHAR: . ? ] "" map-as print ] each ;
Some implementations choose to make the game boards infinite, but we are instead going to build a wraparound game board. This allows, for example, a glider shape to fly off the bottom right and then re-appear on the top left of the board, which is a lot more fun to watch.
A useful word calculates adjacent indices for a cell – that wrap at a
max value of rows or columns:
:: adjacent-indices ( n max -- n-1 n n+1 )
    n [ max ] when-zero 1 -
    n
    n 1 + dup max = [ drop 0 ] when ;
Test it out, showing how it might work in a hypothetical 10 x 10 grid:
! in the middle
IN: scratchpad 3 10 adjacent-indices 3array .
{ 2 3 4 }

! at the start, wrapped around
IN: scratchpad 0 10 adjacent-indices 3array .
{ 9 0 1 }

! at the end, wrapped around
IN: scratchpad 9 10 adjacent-indices 3array .
{ 8 9 0 }
The main game logic requires counting neighbors for each cell. Since each
cell can have 8 neighbors, we can store this count in a half-byte – a
nibble – which can hold the values
[0..15]. In the batteries-included standard
library, we
have a nibble-arrays
vocabulary
that makes this easy.
The simplest implementation would just iterate across the game board, and for each cell that is live, increment the count for the neighboring indices around it:
:: count-neighbors ( grid -- counts )
    grid grid-dim :> ( rows cols )
    rows [ cols <nibble-array> ] replicate :> neighbors
    grid [| row j |
        j rows adjacent-indices
        [ neighbors nth ] tri@ :> ( above same below )

        row [| cell i |
            cell [
                i cols adjacent-indices
                [ [ above [ 1 + ] change-nth ] tri@ ]
                [ nip [ same [ 1 + ] change-nth ] bi@ ]
                [ [ below [ 1 + ] change-nth ] tri@ ]
                3tri
            ] when
        ] each-index
    ] each-index neighbors ;
Then the last piece of game logic we need is to adjust the grid cells according to the rules – making some transition from live to dead, and others from dead to live based on their state and the neighboring counts.
:: next-step ( grid -- )
    grid count-neighbors :> neighbors
    grid [| row j |
        j neighbors nth :> neighbor-row
        row [| cell i |
            i neighbor-row nth
            cell [
                2 3 between? i row set-nth
            ] [
                3 = [ t i row set-nth ] when
            ] if
        ] each-index
    ] each-index ;
Before we move on to creating a graphical user interface for the game, let’s try it out in the Factor listener:
! Create a random 10x10 grid
IN: scratchpad 10 10 random-grid

! Print it out
IN: scratchpad dup grid.
#..#..#.##
##....####
..###.####
.##...#..#
.##....###
..###..#.#
...###.#..
.###....##
#...###.##
.##..#.#..

! Compute the neighbors for each cell
IN: scratchpad dup count-neighbors .
{
    N{ 5 5 4 1 2 3 4 6 5 5 }
    N{ 5 3 4 4 3 4 4 7 7 7 }
    N{ 6 5 4 3 1 4 4 6 6 5 }
    N{ 5 4 5 5 2 3 3 6 7 4 }
    N{ 5 4 5 5 2 2 3 3 5 3 }
    N{ 3 3 4 5 4 3 4 3 6 2 }
    N{ 3 3 6 6 5 2 3 2 5 3 }
    N{ 4 2 3 4 6 5 4 4 4 4 }
    N{ 4 5 5 4 3 3 3 4 4 4 }
    N{ 5 3 2 3 4 4 5 4 5 6 }
}

! Compute the next generation
IN: scratchpad dup next-step

! Print it out
IN: scratchpad dup grid.
.....#....
.#..#.....
...#......
.....##...
......##.#
##...#.#.#
##...###.#
.##.......
....###...
.###......
It works!
Game Interface
In Factor, one of the ways we can build user
interfaces is
using gadgets and OpenGL rendering
instructions.
We start by modeling our game as a
gadget with
a grid object, a size that specifies the rendered pixels-per-cell, and
a timer to control the speed of repainting new generations.
TUPLE: grid-gadget < gadget grid size timer ;
Our default gadget will have cells that are 20 pixels square, and repaint 10 times per second:
: <grid-gadget> ( grid -- gadget )
    grid-gadget new
        swap >>grid
        20 >>size
        dup '[ _ dup grid>> next-step relayout-1 ]
        f 1/10 seconds <timer> >>timer ;
Gadgets are grafted onto the render hierarchy, and then later ungrafted when they are removed. We handle that state change by stopping the timer before delegating to the parent to cleanup further:
M: grid-gadget ungraft*
    [ timer>> stop-timer ] [ call-next-method ] bi ;
The default dimension for our gadget is the grid dimension times the pixel size:
M: grid-gadget pref-dim*
    [ grid>> grid-dim swap ] [ size>> '[ _ * ] bi@ 2array ] bi ;
If the grid size changes – for example, by using the mouse scroll wheel to
zoom in or out – we can create and store a new grid, keeping the cells that
are visible in the same state they were in:
:: update-grid ( gadget -- )
    gadget dim>> first2 :> ( w h )
    gadget size>> :> size
    h w [ size /i ] bi@ :> ( new-rows new-cols )
    gadget grid>> :> grid
    grid grid-dim :> ( rows cols )
    rows new-rows = not cols new-cols = not or [
        new-rows new-cols <grid> :> new-grid
        rows new-rows min [| j |
            cols new-cols min [| i |
                i j grid nth nth
                i j new-grid nth set-nth
            ] each-integer
        ] each-integer
        new-grid gadget grid<<
    ] when ;
We can draw the cells that are live as black squares:
:: draw-cells ( gadget -- )
    COLOR: black gl-color
    gadget size>> :> size
    gadget grid>> [| row j |
        row [| cell i |
            cell [
                i j [ size * ] bi@ 2array { size size } gl-fill-rect
            ] when
        ] each-index
    ] each-index ;
And then draw the gray lines that define the grid of cells:
:: draw-lines ( gadget -- )
    gadget size>> :> size
    gadget grid>> grid-dim :> ( rows cols )
    COLOR: gray gl-color
    cols rows [ size * ] bi@ :> ( w h )
    rows 1 + [| j |
        j size * :> y
        { 0 y } { w y } gl-line
    ] each-integer
    cols 1 + [| i |
        i size * :> x
        { x 0 } { x h } gl-line
    ] each-integer ;
Putting this together, we draw our gadget by updating the grid, drawing the cells, and drawing the lines:
M: grid-gadget draw-gadget*
    [ update-grid ] [ draw-cells ] [ draw-lines ] tri ;
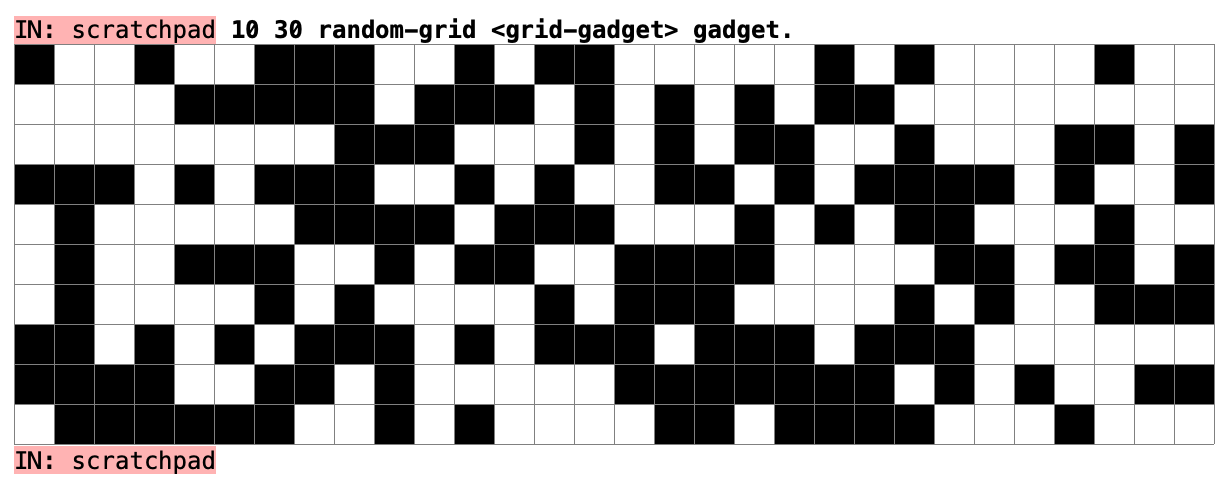
And, with the “visual REPL”, you can directly render the grid gadget, to see it work:
We now need to build the interactive parts. Let’s first start by handling a
click, to toggle the state of a cell, and storing which state it was toggled
to in the last-click variable:
SYMBOL: last-click

:: on-click ( gadget -- )
    gadget grid>> :> grid
    gadget size>> :> size
    grid grid-dim :> ( rows cols )
    gadget hand-rel first2 [ size /i ] bi@ :> ( i j )
    i 0 cols 1 - between?
    j 0 rows 1 - between? and [
        i j grid nth
        [ not dup last-click set ] change-nth
    ] when gadget relayout-1 ;
That allows us to build a drag feature, where as we drag, we continue to either set cells to live or dead according to what the first click was doing:
:: on-drag ( gadget -- )
    gadget grid>> :> grid
    gadget size>> :> size
    grid grid-dim :> ( rows cols )
    gadget hand-rel first2 [ size /i ] bi@ :> ( i j )
    i 0 cols 1 - between?
    j 0 rows 1 - between? and [
        last-click get i j
        grid nth set-nth
        gadget relayout-1
    ] when ;
We implement a scrolling feature to adjust the size of the rendered cells,
clamping the value when it gets too small or too large:
: on-scroll ( gadget -- )
    [
        scroll-direction get second {
            { [ dup 0 > ] [ -2 ] }
            { [ dup 0 < ] [ 2 ] }
            [ 0 ]
        } cond nip + 4 30 clamp
    ] change-size relayout-1 ;
And we store these as "gestures" that are supported by the gadget:
grid-gadget "gestures" [
    {
        { T{ button-down { # 1 } } [ on-click ] }
        { T{ drag { # 1 } } [ on-drag ] }
        { mouse-scroll [ on-scroll ] }
    } assoc-union
] change-word-prop
The last bit we need is to make the toolbar, which has a few commands we can run:
:: com-play ( gadget -- )
    gadget timer>> restart-timer ;

:: com-stop ( gadget -- )
    gadget timer>> stop-timer ;

:: com-clear ( gadget -- )
    gadget dup grid>> [ clear-bits ] each relayout-1 ;

:: com-random ( gadget -- )
    gadget dup grid>> [ [ drop { t f } random ] map! drop ] each relayout-1 ;

:: com-glider ( gadget -- )
    gadget dup grid>> :> grid
    { { 2 1 } { 3 2 } { 1 3 } { 2 3 } { 3 3 } }
    [ grid nth t -rot set-nth ] assoc-each relayout-1 ;

:: com-step ( gadget -- )
    gadget dup grid>> next-step relayout-1 ;
And then store these as the "toolbar" command map:
grid-gadget "toolbar" f {
    { T{ key-down { sym "1" } } com-play }
    { T{ key-down { sym "2" } } com-stop }
    { T{ key-down { sym "3" } } com-clear }
    { T{ key-down { sym "4" } } com-random }
    { T{ key-down { sym "5" } } com-glider }
    { T{ key-down { sym "6" } } com-step }
} define-command-map
And finally, we can wrap the grid gadget with something that makes a toolbar, and creates a main window when launched:
TUPLE: life-gadget < track ;

: <life-gadget> ( -- gadget )
    vertical life-gadget new-track
    20 20 make-grid <grid-gadget>
    [ <toolbar> format-toolbar f track-add ]
    [ 1 track-add ] bi ;

M: life-gadget focusable-child* children>> second ;

MAIN-WINDOW: life-window
    { { title "Game of Life" } }
    <life-gadget> >>gadgets ;
As with anything, there are probably things we could continue to improve in our UI framework, but one of the biggest missing pieces are examples of working code, which is largely what motivated writing about this today.
Check it out!
And maybe think about how you might adjust it to be an infinite game board, or to increase performance when computing the next generation, to improve the OpenGL rendering logic, persist the game board between launches, or do things like communicate age of each cell by the color that it is rendered with.